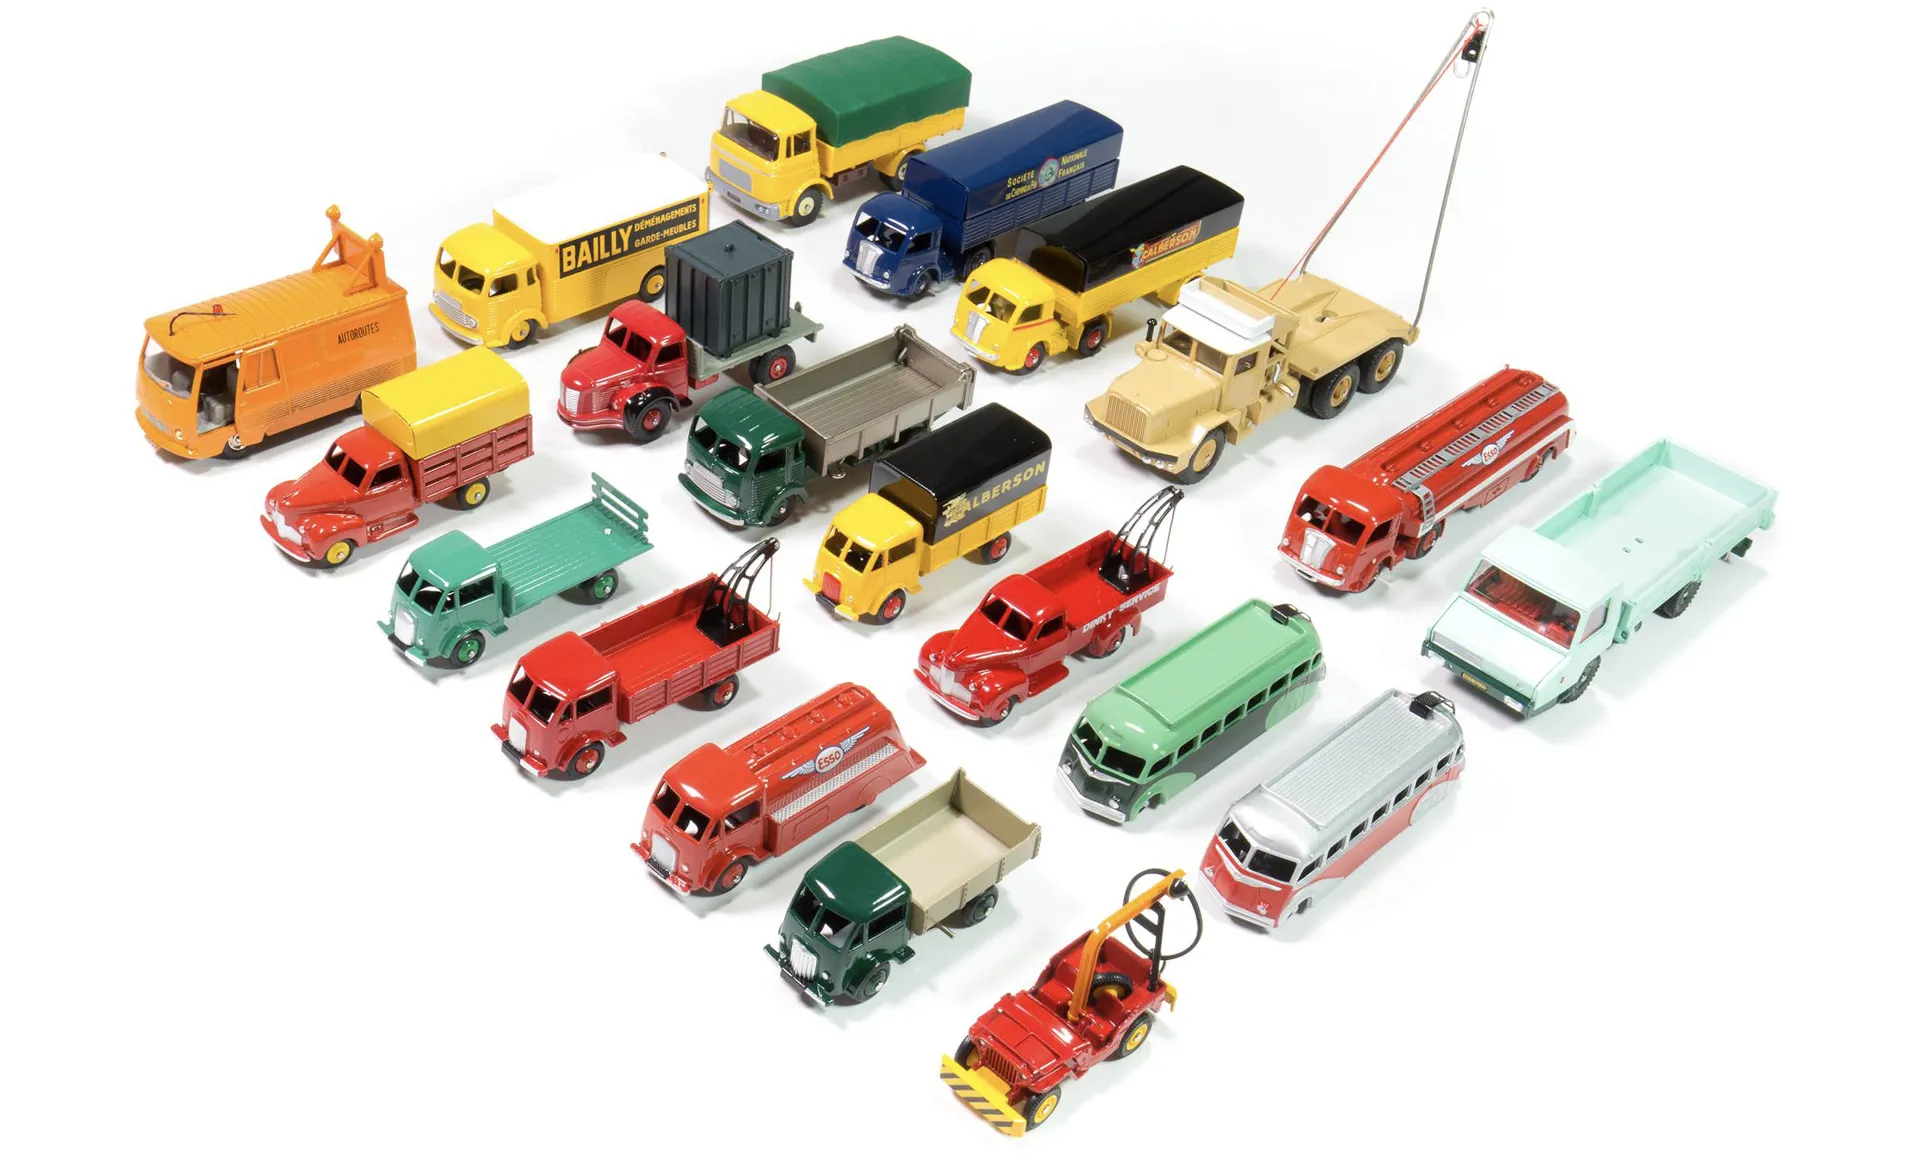
The Diecast Creation Journey
Diecast models, cherished by collectors and enthusiasts alike, are miniature marvels of engineering and artistry. These finely detailed replicas of vehicles and other objects are not merely toys, but intricate creations that involve a fascinating manufacturing process. Understanding how these diecast models are made reveals a world of precision, craftsmanship, and technological innovation. From the initial design to the final inspection, the journey of a diecast model is a testament to the dedication and skill of its creators. This guide will explore the five key steps involved in bringing these miniature masterpieces to life, offering a glimpse into the intricate world of diecast manufacturing.
Design and Engineering
The journey of a diecast model begins with design and engineering, a crucial phase where the concept takes its initial form. The process starts with meticulous research, often involving the acquisition of original vehicle blueprints, photographs, and specifications. These resources provide the essential data needed to create an accurate representation of the real-world object. Experienced designers and engineers then utilize Computer-Aided Design (CAD) software to develop a detailed 3D model. This digital model serves as the blueprint for every aspect of the diecast, dictating its dimensions, proportions, and intricate details. This early stage sets the stage for the eventual production of the diecast model.
The Creation of the 3D Model
Using the gathered data, designers meticulously craft a 3D model. This model is not just a visual representation; it’s a comprehensive digital artifact that contains all the information needed for manufacturing. The level of detail is extraordinary, often including features like engine components, interior details, and the intricate patterns of tires. The 3D model is constantly refined and reviewed, ensuring that it accurately reflects the original design and meets the required manufacturing standards. This model is the foundation upon which the entire diecast model is built, a crucial starting point for bringing the miniature vehicle to life. The better the 3D model, the more realistic the final product will be.
Material Selection
The selection of materials is another critical step in the diecast manufacturing process, as the chosen materials directly impact the model’s durability, appearance, and overall quality. Diecast models are typically made from a combination of materials, with the primary component being the diecast alloy itself. The specific alloy composition can vary, but it generally consists of a mixture of metals, such as zinc, aluminum, and copper. The choice of alloy is carefully considered to balance factors like strength, ability to hold fine details, and cost-effectiveness. Beyond the diecast alloy, other materials, like plastic and rubber, are also utilized for components like tires, interior parts, and various accessories. The materials are selected to ensure durability and enhance the overall realism of the model.
Common Diecast Materials
Zinc alloys are frequently used due to their excellent casting properties and ability to capture fine details. Aluminum alloys are another option, known for their lightweight nature and good strength-to-weight ratio. Plastics are widely used for parts like the interior, chassis, and wheels, offering flexibility in design and color. Rubber is primarily used for tires, giving them a realistic look and feel. The specific combination of materials is carefully chosen based on the design requirements, cost considerations, and the desired level of detail and realism. These materials work together to create a durable and aesthetically pleasing final product that captures the essence of the original vehicle.
The Die Casting Process

The heart of diecast manufacturing is the die casting process, where molten metal is injected into a mold under high pressure. This process allows for the creation of intricate and detailed shapes that would be impossible to achieve through other manufacturing methods. The die casting process consists of several key steps, starting with mold preparation. This is then followed by the injection of molten metal, which rapidly fills the mold. After the metal cools and solidifies, the finished part is removed from the mold. This process ensures that the diecast models are able to precisely replicate even the finest details of the original vehicle. This technique is at the core of diecast model production.
Mold Preparation
Before the metal can be injected, the mold must be carefully prepared. This involves cleaning the mold to remove any residue from previous castings and applying a lubricant to ensure that the metal doesn’t stick to the mold and to aid in the ejection of the finished part. The molds themselves are typically made from high-strength steel and are designed to withstand the high pressures and temperatures involved in the die casting process. The mold is constructed in two halves, with the internal cavity precisely shaped to match the desired form of the diecast model. The meticulous preparation of the mold is essential for ensuring a high-quality finished product.
Metal Injection
Once the mold is prepared, the molten metal is injected into the mold cavity under high pressure. The molten metal, which is typically an alloy of zinc, aluminum, or other metals, is forced into every crevice of the mold, ensuring that even the most intricate details are captured. The high pressure is essential to ensure that the metal completely fills the mold and prevents the formation of air pockets. The injection process is carefully controlled to maintain a consistent flow of metal and prevent any defects in the final product. This step is key to creating the detailed forms and structures found in diecast models.
Cooling and Solidification

After the metal is injected into the mold, it must cool and solidify. The mold is designed to facilitate rapid cooling, allowing for efficient production cycles. The cooling time can vary depending on the size and complexity of the model, but it’s a crucial step in ensuring that the metal solidifies correctly and retains its shape. During this phase, the metal transforms from a liquid state to a solid state. Once the metal has fully solidified, the mold is opened, and the newly formed diecast part is carefully ejected. The controlled cooling process helps to maintain the model’s structural integrity and minimize any distortion.
Finishing Touches
After the die casting process is complete, the model undergoes a series of finishing touches to enhance its appearance and detail. This involves trimming and detailing the model, followed by painting, the application of decals, and the assembly of various components. These steps are vital to transform the raw diecast part into a highly detailed and visually appealing model. The level of detail and precision during the finishing phase is what separates a good diecast model from a great one, making each model a miniature work of art. The finishing process is a testament to the skill and artistry involved in creating these models.
Trimming and Detailing
The initial step in finishing is trimming and detailing, where any excess material from the die casting process is removed. This involves using specialized tools to trim off any flash (excess metal) and smooth rough edges. Details such as panel lines, door seams, and other fine features are added or enhanced during this phase. The level of detail achieved depends on the quality of the mold and the skill of the finishing technicians. Precision and attention to detail are paramount in this step to ensure that the model accurately reflects the original vehicle’s appearance. This is also where small imperfections are corrected, contributing to the overall quality.
Painting and Decals

Painting is a crucial step in bringing the diecast model to life, as it adds color and visual detail. The model is carefully primed and painted with the desired colors using advanced painting techniques. Multiple layers of paint may be applied to achieve a smooth and realistic finish. Decals, which represent logos, markings, and other intricate details, are then applied to the model. These decals are carefully positioned and adhered to the surface, adding realism and authenticity. The painting and decal application process requires a high level of skill and precision to ensure that the model looks its best. The finished paint job and decals significantly enhance the model’s visual appeal and accuracy.
Assembly and Quality Control
The final stage of diecast manufacturing involves the assembly of various components and rigorous quality control checks. This phase ensures that the model meets the highest standards of quality, detail, and functionality. It’s a meticulous process, where each part is carefully joined and assembled to create the complete model. This ensures that the diecast model functions and is of the best quality possible. Quality control checks are then performed to ensure that the final product meets all the required standards.
Final Assembly
During final assembly, the various components of the diecast model are brought together. This includes attaching wheels, windows, interior parts, and any other accessories that complete the model’s design. Skilled technicians meticulously assemble the model, ensuring that each part is properly aligned and securely attached. The assembly process is often complex, requiring precision and attention to detail. The goal is to create a finished product that is not only visually appealing but also structurally sound. This final step transforms the individual components into a cohesive and fully functional diecast model.
Quality Assurance Checks

Before the diecast model is ready for sale, it undergoes a series of quality assurance checks. These checks are designed to identify any defects, inconsistencies, or imperfections. Inspectors carefully examine the model for issues such as paint defects, misaligned parts, or any other flaws that may detract from its quality. The model is also tested for functionality to ensure that all moving parts, such as wheels and doors, operate correctly. The quality assurance process is essential to guarantee that each diecast model meets the high standards expected by collectors and enthusiasts. This ensures that the final product is of the highest quality possible.